Reconciling your accounts may sound like a tedious task, but it’s one of the most critical practices for maintaining financial health in both personal and business finances. Account reconciliation is the process of comparing your financial records to external statements, such as bank statements or credit card statements, to ensure accuracy and identify discrepancies. Done regularly, it helps prevent fraud, errors, and cash flow problems while providing a clear picture of your financial situation. This guide will walk you through the step-by-step process of reconciling your accounts like a pro.
1. Gather Your Financial Records

The first step in account reconciliation is to collect all relevant financial documents. For a business, this typically includes your general ledger, bank statements, credit card statements, invoices, receipts, and expense reports. For personal finances, gather your bank statements, credit card statements, and records of any payments or deposits. Having all documents in one place makes the reconciliation process smoother and reduces the chance of missing transactions.
2. Choose Your Reconciliation Method
There are several ways to reconcile accounts, depending on your preference and the complexity of your finances:
- Manual Reconciliation: You go line by line comparing your ledger to the statement, ticking off matching transactions. This method works well for small businesses or personal finances with fewer transactions.
- Spreadsheet Reconciliation: Using software like Excel or Google Sheets, you can create a reconciliation template that tracks balances and highlights discrepancies.
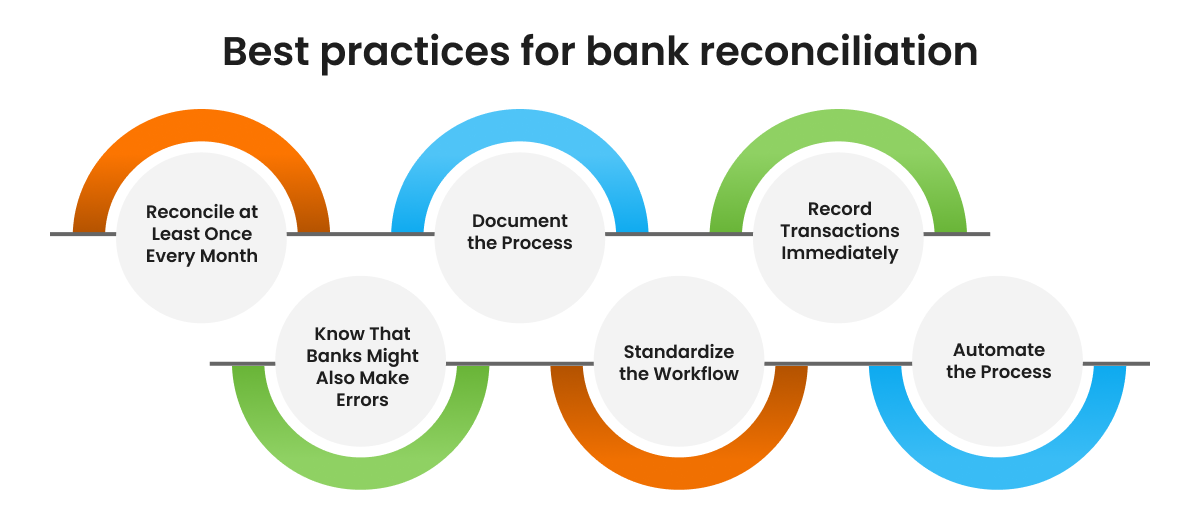
- Accounting Software: Most modern accounting software, such as QuickBooks or Xero, has built-in reconciliation tools that automate much of the process, flagging inconsistencies automatically.
Select the method that best suits your volume of transactions and comfort with financial tools.
3. Verify Opening Balances
Before diving into transactions, confirm that your opening balance matches the previous period’s closing balance. Any discrepancies at this stage can throw off the entire reconciliation process. If the opening balances don’t match, you’ll need to investigate prior period errors before continuing.
4. Compare Transactions Carefully
Now, it’s time to match each transaction in your ledger with the corresponding entry on your statement. For each transaction:
- Confirm the amount is identical.
- Check the date of the transaction.
- Ensure the payee or payer matches.
Mark each transaction as reconciled once it’s verified. Accounting software can make this step easier by automatically matching transactions, but manual checks are still essential for spotting errors or omissions.
5. Identify and Investigate Discrepancies
It’s normal to encounter differences during reconciliation. Common causes include:
- Bank fees or interest not recorded in your books
- Duplicate entries or missed transactions
- Timing differences, such as outstanding checks or deposits in transit
- Errors in data entry
Investigate each discrepancy carefully. If it’s a minor mistake, you can make an adjustment in your books. If it’s a potential error from the bank or credit card company, contact them for clarification. The goal is to ensure every entry is accounted for and accurate.
6. Adjust Your Records
Once discrepancies are identified, make the necessary adjustments in your financial records. This may include:
- Recording bank fees or interest earned
- Correcting data entry errors
- Accounting for outstanding deposits or checks
Adjustments should be clearly documented with notes explaining why the change was made. This is important for both internal tracking and future audits.
7. Reconcile the Final Balances

After all adjustments are made, calculate your final balance and compare it with your statement balance. If the balances match, congratulations—you’ve successfully reconciled your account. If not, revisit your entries and adjustments, as some discrepancies may have been overlooked.
8. Keep a Record of Your Reconciliation
Proper documentation is critical. Save your reconciliation report, along with any supporting documents, for future reference. This record can help resolve disputes, provide evidence during audits, and improve financial planning by highlighting recurring issues or trends.
9. Schedule Regular Reconciliation
Reconciliation shouldn’t be a once-a-year task. Depending on your transaction volume, aim to reconcile:
- Monthly: Suitable for most businesses and personal finances
- Weekly: Ideal for businesses with high transaction volumes
- Daily: Recommended for larger organizations to maintain tight financial control
Regular reconciliation ensures your records are accurate, reduces stress at month-end, and provides up-to-date insights into your financial health.
Conclusion
Mastering account reconciliation may seem daunting at first, but following a structured approach can turn it into a straightforward, routine task. By gathering records, verifying transactions, investigating discrepancies, and documenting adjustments, you can reconcile your accounts efficiently and accurately. Over time, this practice will not only prevent errors and fraud but also give you a professional-level understanding of your financial status. Reconciling like a pro is about consistency, attention to detail, and using the right tools to make the process manageable and reliable.